What Is a Compressor? A DTM Beginner’s Guide to How It Works, the 5 Key Parameters and How to Use It

Once you start mixing in DTM, one effect you will always come across is the "compressor."
Many people probably feel, "I insert one without really understanding what it does," or "There are so many parameters, how should I set them?"
In this article, we explain everything from how a compressor works and the meaning of its 5 basic parameters to setting guidelines for vocals, drums and other instruments, and advanced techniques such as sidechain and parallel compression, in a way that's easy for beginners to understand!
INDEX
What Is a Compressor? An Effect That Evens Out Volume Variations
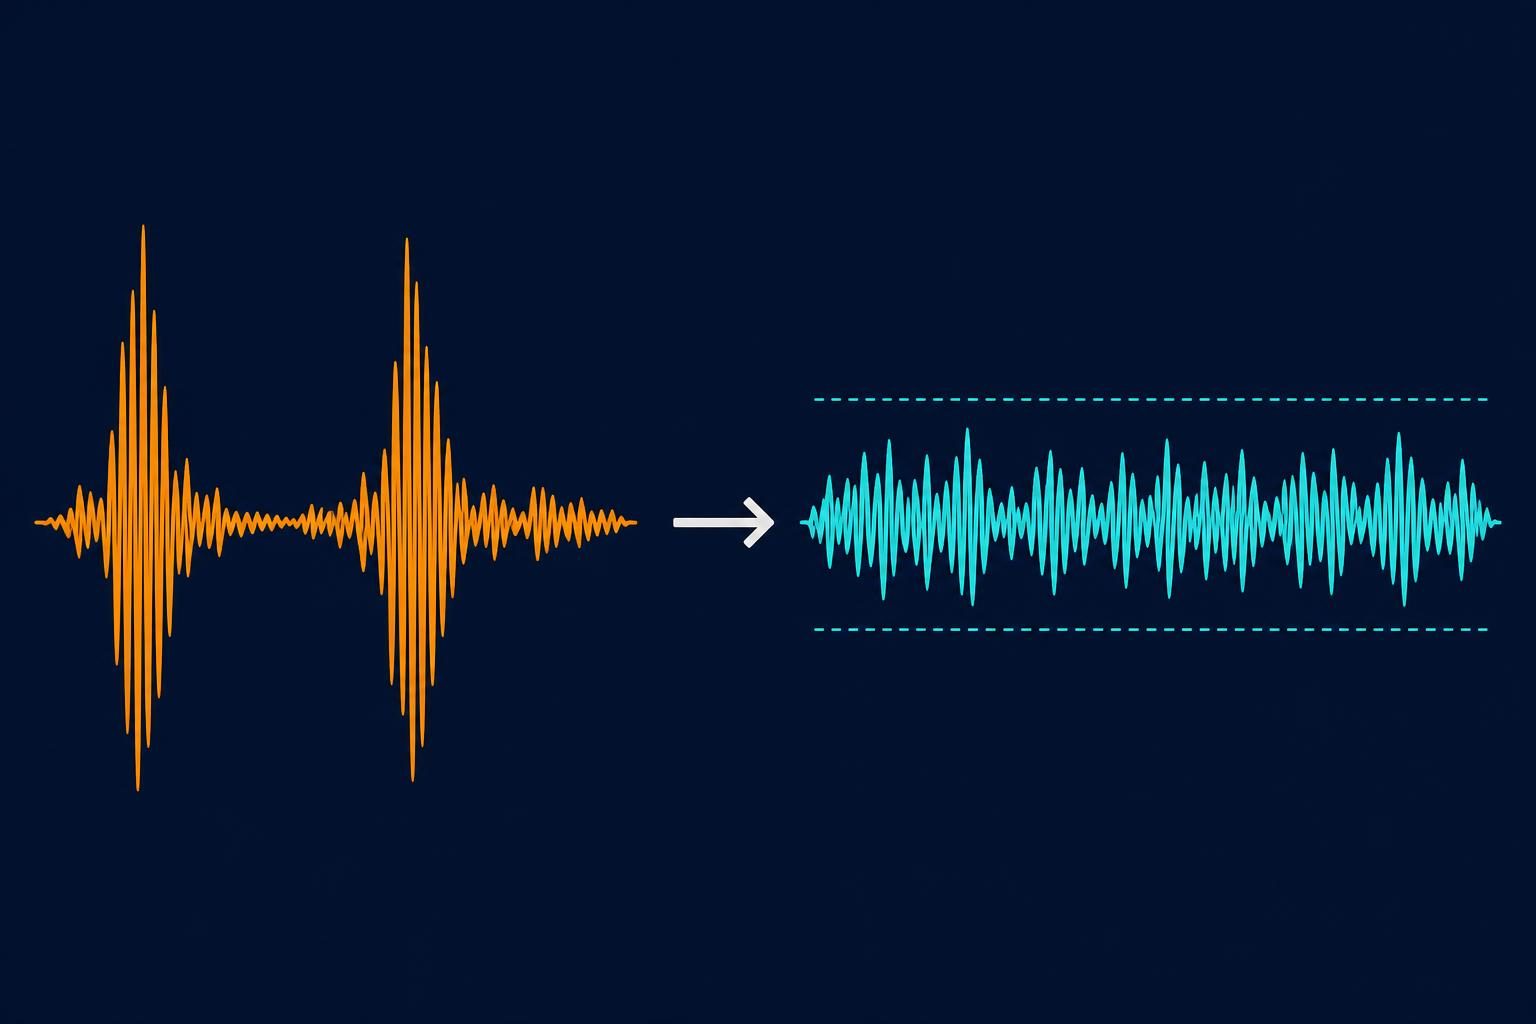
A compressor is an effect that reduces the difference between the loud and quiet parts of a sound (its dynamics) to even out the volume. In DTM and recording, it is almost always shortened to "comp."
For example, a vocal suddenly gets loud when the singer belts out the chorus and becomes quiet in whispery verse sections. If you play it back as is, the loud parts will be harsh and the quiet parts will be buried in the backing and hard to hear. A compressor automatically holds down only the parts that are too loud, so you can keep the volume easy to listen to throughout the whole song.
How a Compressor Works
The way a compressor works is very simple.
As a result, loud sounds are held down and quiet sounds are relatively raised, giving you a cohesive sound with less variation in volume.
3 Reasons to Use a Compressor
Compressors are mainly used for the following three purposes.
The 5 Basic Parameters of a Compressor
There are many compressor products and plugins, but the basic parameters are almost always the same. Once you understand these five, you'll be able to use any compressor.
1. Threshold
The threshold is the reference level that determines "at what volume the compressor starts to work," measured in dB (decibels). The lower you set the threshold, the quieter the sounds it reacts to, and the stronger the compression.
Conversely, raising the threshold makes it react only to especially loud sounds such as peaks. The basic approach is to lower the threshold little by little and find the point where it reacts only to the loud parts.
2. Ratio
The ratio indicates "how much sound above the threshold is compressed." For example, with a 4:1 ratio, sound that exceeds the threshold by 4dB is compressed so that it exceeds it by only 1dB.
3. Attack
Attack is the parameter that determines "how quickly compression takes effect after the sound exceeds the threshold," measured in ms (milliseconds).
Setting the attack faster compresses the sound right from its onset (transient), so peaks are held down firmly, but the sound loses some of its attack and energy.
Setting the attack Setting it slower lets the onset pass through uncompressed, emphasizing the snap of kicks and snares for a punchier sound.
4. Release
Release is the parameter that determines "how quickly compression is released after the sound falls below the threshold."
If the release is too short, compression engages and releases in rapid succession, which can make the sound wobble or distort. If it is too long, compression remains engaged when the next sound arrives, and everything sounds constantly squashed. Find a length that sounds natural for the song's tempo and the decay of the sound. If you're unsure, using the "Auto" function on compressors that have one is also an option.
5. Makeup Gain
When a compressor holds down loud sounds, the overall volume also drops. Makeup gain is the parameter that raises the volume to compensate for that drop. Some plugins label it "Gain" or "Output."
Good to Know: Knee and Gain Reduction
Knee is the parameter that determines how compression begins around the threshold. A "hard knee" compresses at the set ratio from the moment the sound exceeds the threshold, while a "soft knee" gradually increases compression starting just below the threshold, for a more natural effect.
Gain reduction (GR) is a meter that shows how much the volume is currently being compressed. When judging whether the compressor is working, check this meter as well as your ears. For vocals, about 3–6dB of gain reduction is a good starting point for a natural result.
Types of Compressors and Their Sound
Compressors were originally divided into several types according to their hardware circuit design, and each has a different response and sonic character. Many of today's plugins also model these classic units.
As a beginner, don't worry too much about the types; it's best to first learn the basics with the standard compressor that comes with your DAW. Once you're used to it, try using compressors with different characters for different purposes.
[By Instrument] Compressor Setting Guidelines
Here are compressor setting guidelines for commonly used instruments. These are only starting points, so adjust them by ear to suit the material and style of the song.
The key is to aim for vocals where "the lyrics are clearly audible and the chorus doesn't jump out too much," drums that "keep their attack while controlling the decay," and a mix bus that "lightly glues everything together with about 1–2dB of gain reduction."
Advanced Compression Techniques Worth Knowing
Sidechain Compression
Sidechain is a technique that triggers a compressor using the sound of another track. A typical use is lowering the volume of the bass or synth only at the moment the kick hits. This keeps the low end of the kick and bass from clashing and cleans up the low frequencies.
Applying it more strongly creates a pumping effect in which the volume swells rhythmically, producing the groove familiar from EDM and house.
Parallel Compression
Parallel compression is a technique that blends heavily compressed sound with the original, uncompressed sound. Also called "New York compression," it is especially common on drums. The advantage is that you can add power and density while keeping the natural attack of the original sound. More and more plugins now let you do parallel compression easily with a "Mix" or "Dry/Wet" knob.
Multiband Compressor
A multiband compressor is a compressor that splits the sound into frequency bands, such as lows, mids and highs, and compresses each separately. It can pinpoint problems in specific bands, such as "only the low end is unruly" or "only the vocal's sibilance hurts the ears." It is mainly used in mastering and at the finishing stage. To deepen your understanding of frequency bands, also read "What Is an Equalizer (EQ)? Easy-to-Understand Guide".
Common Beginner Mistakes and How to Fix Them
Free Compressors
You don't need to buy expensive plugins to try a compressor. Start by using the compressor that comes with your DAW.
Compressors included with DAWs
Ableton Live comes with "Compressor" and the mix-bus-oriented "Glue Compressor." Logic Pro's "Compressor" lets you switch between several circuit types, including VCA, FET and opto, so it's perfect for practicing hearing the differences between the types introduced in this article. Almost every other DAW also includes a standard compressor.
If you're about to choose a DAW, also see "Start Music Production Completely Free: A Comprehensive Comparison of Recommended Free DAWs" and "Can You Really Use Ableton Live for Free?! A Guide to Downloading the Free Version".
Free compressor plugins
Once you're used to the included compressor, it's also worth trying highly rated plugins that are distributed for free. For example, Tokyo Dawn Labs' "TDR Kotelnikov" is a high-quality compressor that can also be used on the mix bus and for mastering, and a free version is available. Klanghelm's "DC1A" has few parameters and simple controls, making it easy for beginners to use.
*Availability and supported environments may change, so check each developer's official website when downloading.
Summary
In this article, we introduced how a compressor works, its basic parameters, setting guidelines by instrument and advanced techniques.
Once you learn the flow of "set the reference with the threshold, set the strength of compression with the ratio, adjust the response with attack and release, and restore the volume with makeup gain," you'll be able to use any compressor.
Start with modest settings and gradually train your ears by comparing with bypass. For EQ and filters, also check out "DAW: What Is a Filter? Master It to Achieve Pro-Level Sound Design"!
Related External Links
Profile

web creator (design + front-end) who loves techno and other music. not only web-related and media business, but also sound production business.
Click here for inquiries,comments, and job requests.